Milk Bumps Tutorial
Got Milk Bumps?
By Angenette Wills of Meant To Be Babies Nursery
Babies can develop several skin conditions, including blemishes, pimples, and bumps. One such condition that affects up to 50% of newborns is milia - "milk bumps." Because this condition affects so many newborns and infants, many reborners choose to add milia to their babies for added realism and 3-D texture. However, there are a few things to consider before "dotting" away on those noses and cheeks.
Age: Milia affects babies age newborn to three months. If reborning a doll older than 3 months of age, adding milia may not be a good idea; even though not all babies get rid of the bumps after three months, most do.
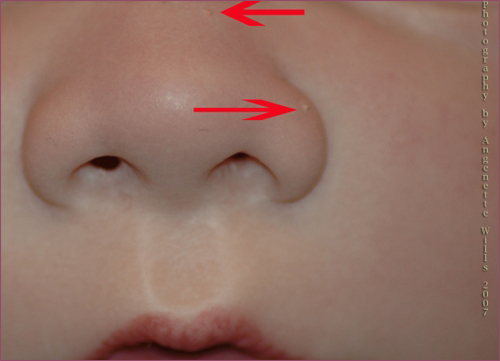
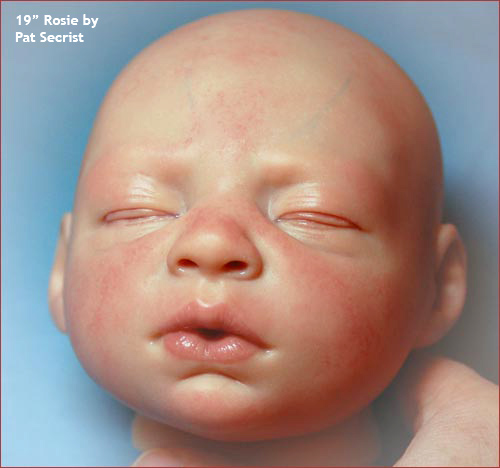
Affected Areas: Milia are generally found on the nose, chin, or upper cheeks. However, they can sometimes be found in the mouth and are then called Epstein's pearls. Occasionally, milia are also found on the forehead, upper body, and limbs.
Size and Appearance: Milia are small - only a millimeter or two in size. They are yellow-white "pearls" and if irritated can be surrounded by a small red area.
Perfect Milia
How does one achieve perfect milia? Respected reborner Rebecca Renzhammer suggests trial-and-error for creating your own special technique. However, with the acknowledgement that she received helpful input from other reborners in the ERA guild, Rebecca did pass on that Genesis Flesh 08 and a toothpick works really well. What else will you need? According to a lot of other reborners out there, not much. You are just a toothpick away from perfect milk bumps!
Materials Needed for Perfect Milia EVERY Time:
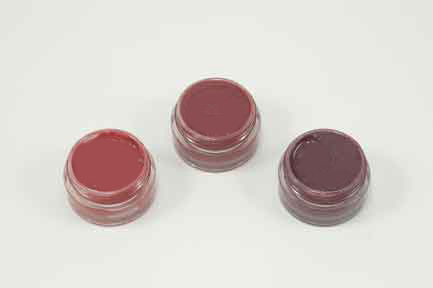
Genesis Flesh 08
Genesis mixed one shade darker than blush tone
Genesis Matt Varnish
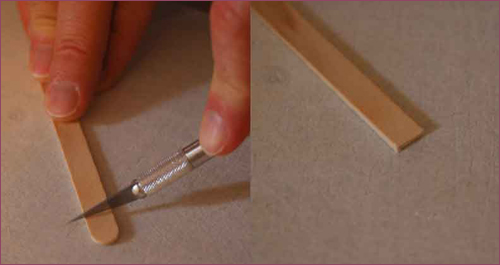
Toothpick or very fine paintbrush
Odorless Thinner
Patience
Technique
Before sealing the skin with Genesis Matte Varnish, mix a pea size amount of the varnish with a similar amount of Genesis paint one shade darker than your blush color. Use only a small amount of thinner. Mix well to a creamy consistency. Roll the bristles of a fine paintbrush in this mixture until the brush is well loaded to a "point" and dab a very small "dot" of this color to the areas where you would like to apply the milk bumps- nose, cheeks, chin. You can also use a toothpick to apply the "dots." Heat set the paint.
Next, mix the same amount of Genesis Flesh 08 and the Genesis Matte Varnish as above. Again, dip in your toothpick or paintbrush and apply a smaller dot on top of the previous dot. If you would like to cover the dot completely, you can, but leaving an outer colored ring gives the "irritated, new skin" look you might like to achieve. Heat set the paint, and then seal the doll as usual with the matte sealer.
Be patient! This technique does take some practice. If your bumps are too big, remove them before heat setting, and start again. And never forget the golden milk bump rule: "less is always more."