Shiny Nails Mini Tutorial
Supplies needed:
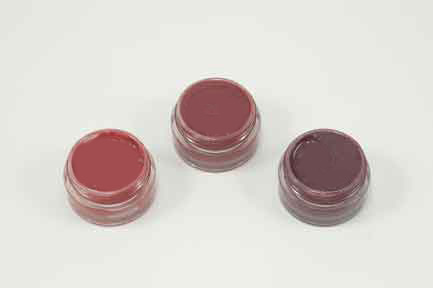
Glazing Gel
Paint Pallet
#4 Lip & Nail Brush
Oven Thermometer
Flat-Sided Toothpick
Step 1
A little bit goes a long way so using your flat-sided toothpick put a pea-size amount of Glazing Gel on your porcelain paint palette. Do not use plastic palettes as they will react with heat set paints.
Step 2
Using the filbert brush spread the Glazing Gel in thin layers making sure to avoid lumps or bumps in the paint which will reduce the look of realism. Always pull the brush from the cuticle area straight out to the end of the nail. It's okay to leave faint straight lines in the nail because that's the way real nails are.
For finger and toe nails always use a filbert brush. The shape of the brush tip fits perfectly into the finger and toe nail cuticle area.
If you want to add more layers of Glazing Gel bake between each layer at 265 degrees Fahrenheit (1300 C) for approximately 6 to 8 minutes in the oven or 2 to 3 seconds if using the Heat Gun. Use an oven thermometer when baking heat set paints.
For the sake of realism it's best not to add more than two layers to each nail.